Transferring data from an Android phone to an iPhone sounds like one of those tasks that’s simple in theory, but a bit of a headache in practice. It’s like trying to move your whole life—contacts, photos, messages, apps, everything—from one place to another. You want it to go smoothly without any data left behind, right? Well, the good news is that with the right tools and steps, you can do this seamlessly and in less time than you might think.
So, let’s talk through the process of transferring your data from Android to iPhone. Whether you’re a tech newbie or an experienced user, I’ll break it down step-by-step to make this transition a breeze.
Who Is This Guide For?
If you’re reading this, you’re probably someone who’s just switched from Android to iPhone (or thinking about it), and you’ve got some data to move. For those considering the transition, Apple’s data migration tools are designed to make the process as smooth as possible, helping users easily transfer contacts, photos, and other key data. You’re likely in your 20s or 30s, a professional, perhaps someone who values a seamless tech experience without the frustration. Many professionals make the switch for the user-friendly interface and ecosystem that iPhones offer. Whether you’re moving to iPhone for the first time or upgrading, you’ll want to ensure that all your data—contacts, messages, and apps—arrive without a hitch.
The goal of this guide is to give you clear, actionable steps to make sure you don’t lose any precious photos, contacts, or files while jumping ship to a whole new OS.
Why Is Transferring Data Such a Big Deal?
Switching from Android to iPhone isn’t like upgrading your phone within the same system. Android and iOS are like two different worlds with their own ways of managing data. And, while both are pretty awesome, they don’t naturally “speak” to each other. Without the right tools or know-how, you could end up with some missing data or a whole lot of headaches.
The Pain Points You Might Be Feeling
You’ve probably Googled “How to transfer data from Android to iPhone” a few times, right? Maybe you found a bunch of complicated instructions or app recommendations that seemed more confusing than helpful. It’s easy to feel overwhelmed—especially when you’ve got a ton of photos and messages that are important to you.
Let’s fix that. Here’s what you’ll need to know to make the move as painless as possible.
The Best Ways to Transfer Your Data
Luckily, Apple has made it pretty easy to move data from Android to iPhone. There are a few different methods you can use, depending on what you’ve got on your phone and how tech-savvy you are. Some are official Apple methods, while others are third-party solutions.
Let’s dive into each of these methods.
1. Move to iOS App: Apple’s Official Solution
Best for: Users who prefer a simple, official solution.
Apple has an app for everything, right? Well, they’ve got one for data transfers too. It’s called Move to iOS, and it’s available for free on the Google Play Store.
How It Works:
- On your Android device, download and install the Move to iOS app from the Play Store.
- Start setting up your new iPhone, and when you reach the “Apps & Data” screen, select “Move Data from Android.”
- Open the Move to iOS app on your Android device, follow the on-screen instructions, and connect your devices via a private Wi-Fi network created by the iPhone.
- Choose what data you want to transfer. You can select contacts, photos, videos, messages, and even your web bookmarks.
This method works really well for most users. It’s quick, secure, and handles most of the basics—contacts, calendar events, messages, and more.
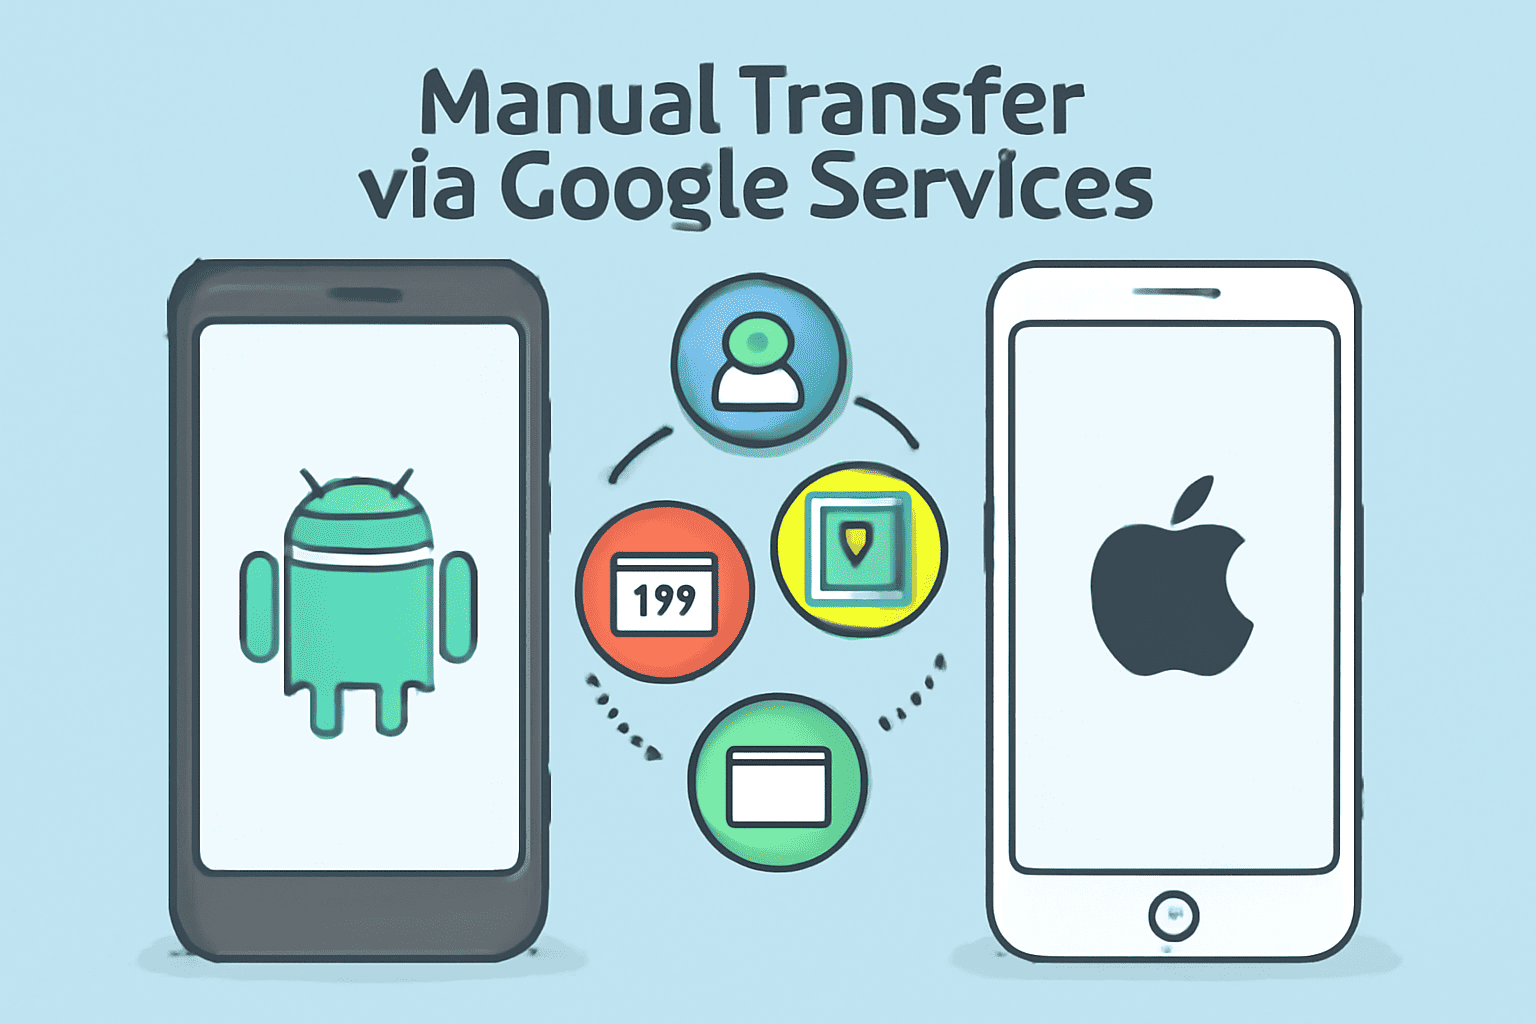
2. Manual Transfer via Google Services

Best for: Users who don’t want to rely on an app or who want to do it bit by bit.
If you don’t mind being hands-on, you can use Google services like Gmail, Google Photos, and Google Drive to manually transfer data. Here’s how:
- Contacts and Calendar: Make sure your contacts and calendar events are synced to your Google account. Then, on your iPhone, log in with that same Gmail account, and your contacts and calendar will automatically sync.
- Photos and Videos: Google Photos is the easiest way to move over your pictures and videos. Install Google Photos on both your Android and iPhone, back up your photos to Google Photos on Android, and then log into your account on the iPhone to access everything.
- Documents and Files: Upload any important documents or files to Google Drive, and they’ll be available on your iPhone once you download the Drive app.
While this method is a bit more manual, it’s handy if you’re only interested in certain types of data and don’t want to use an extra app for the transfer.
3. Using a Third-Party Transfer Tool
Best for: Users who have specific needs or want a faster, no-hassle solution.
If you’ve got a lot of data to transfer and want something a little more robust than Move to iOS, third-party apps like Dr. Fone or AnyTrans could be your best bet.
These tools are pretty straightforward to use. Simply connect both your Android and iPhone to your computer, select the data you want to transfer, and let the software do the heavy lifting.
These apps can transfer almost anything—contacts, photos, music, apps, and more—without needing Wi-Fi or a manual backup. Some of them even let you move apps and app data, which is something that Move to iOS doesn’t always handle smoothly.
4. iCloud and iTunes Backup
Best for: Users who already use Apple’s ecosystem or want to back up everything.
If you’re looking for a more traditional method, you can back up your Android phone data to your computer (via USB or cloud storage) and then restore it to your new iPhone using iTunes or iCloud.
The main downside is that this method doesn’t always work seamlessly for transferring apps and app data. But for general data like contacts, music, photos, and videos, it’ll get the job done.
What Can Go Wrong, and How to Avoid It
Now, while transferring your data from Android to iPhone is usually smooth, there are a couple of things that might trip you up.
1. Lost App Data
Unfortunately, most apps won’t transfer over with their data intact. So if you’re a heavy app user with lots of custom settings or saved games, you might lose your progress. To prevent this, make sure that your important apps have a cloud sync feature (like Google Play Games or Dropbox) so you can restore your data on your iPhone.
2. Photos That Won’t Sync
Sometimes photos don’t show up correctly during the transfer, especially if you’re not using a dedicated photo-syncing tool like Google Photos or iCloud. Double-check that all your photos are properly backed up before transferring, just in case.
3. Data Overload
If you’ve got a lot of stuff on your Android phone—thousands of photos, videos, documents, and apps—it can take some time to move it all over. The good news? You can usually control what data gets transferred, so you can prioritize the important stuff and move the rest later.
A Few Final Tips
- Check Your Backup Settings: Before starting the transfer, make sure everything on your Android phone is backed up (contacts, photos, apps, etc.).
- Take Your Time: The transfer process can take anywhere from a few minutes to an hour, depending on how much data you’re moving over. Don’t rush it.
- Make Sure You Have Enough Space: Keep an eye on the storage on your iPhone. If you’re running low on space, you may need to delete a few things or move some data to iCloud.
Quick FAQs
Q1: How long does it take to transfer data from Android to iPhone?
A1: It depends on how much data you’re moving, but it typically takes anywhere from 15 minutes to an hour.
Q2: Can I transfer my apps from Android to iPhone?
A2: You can’t transfer the apps themselves, but you can download their iOS versions from the App Store.
Q3: Do I need to use a computer for the transfer?
A3: No, most methods (like Move to iOS) don’t require a computer. But some methods, like iTunes, do.
Final Thoughts: Enjoy Your New iPhone!
Switching from Android to iPhone doesn’t have to be a hassle. With the right tools and a little patience, you can move your data over quickly and easily. Whether you’re using Apple’s Move to iOS app or a third-party tool, the important thing is to make sure your contacts, photos, and memories come along for the ride.
Happy transferring!

