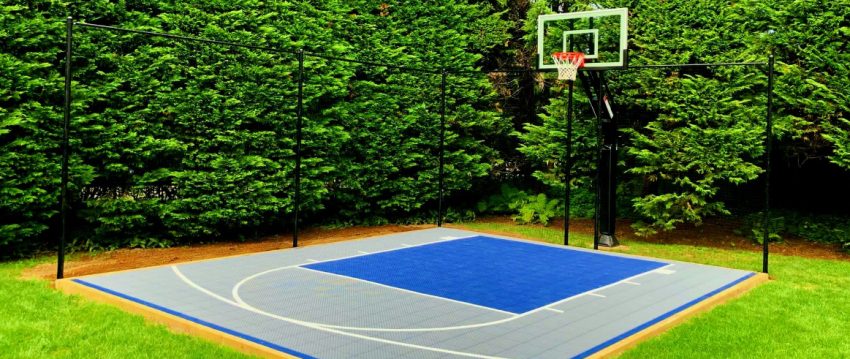
Transforming your backyard or empty space into a fantastic basketball court can be an exciting and rewarding DIY project. With the right preparation, materials, and dedication, you can create a perfect playing surface for hours of fun and fitness. In this comprehensive guide, we will walk you through the step-by-step process of installing your very own Basketball court installation, from laying the concrete foundation to marking the lines and adding finishing touches.
Before You Begin:
- Obtain Necessary Permits: Check with your local authorities about any required permits or regulations for constructing a basketball court on your property. Different areas might have specific rules regarding court size, setback distances, and drainage considerations.
- Choose the Court Size: Determine the size of the court that fits your available space and budget. The standard full-size basketball court measures 94 feet by 50 feet (28.6 meters by 15.2 meters). However, you can scale down the dimensions to suit your needs.
- Gather Materials and Tools: Ensure you have all the essential materials and tools required for the project. These may include concrete mix, rebar, form boards, basketball hoop and pole, marking paint, and various construction tools like shovels, rakes, and levelers.
Step-by-Step Installation Guide:
Step 1: Site Preparation Choose a level area for your basketball court and clear it of any debris, rocks, or vegetation. Mark the court’s boundaries using stakes and string lines, ensuring they conform to the desired court size.
Step 2: Excavation Dig down to a depth of at least 6 inches (15 cm) to remove the topsoil and create a stable base for the court. Compact the soil thoroughly using a compactor or hand tamper to prevent settling.
Step 3: Building the Forms Construct forms around the excavated area using wooden boards to contain the concrete. Make sure the forms are level and squared off to ensure accurate court dimensions.
Step 4: Reinforcement Install rebar or wire mesh within the forms to reinforce the concrete slab. This will enhance the court’s strength and durability.
Step 5: Pouring the Concrete Carefully pour concrete into the forms and spread it evenly using shovels and rakes. Smooth the surface using a screed and ensure it is level throughout the entire court.
Step 6: Curing the Concrete Cover the freshly poured concrete with a curing compound or wet burlap to maintain moisture and allow it to cure properly. Follow the recommended curing time as per the concrete manufacturer’s instructions.
Step 7: Marking the Lines Once the concrete has fully cured, mark the lines for the basketball court using appropriate paint or chalk. Follow official court dimensions for accurate line placement.
Step 8: Installing the Basketball Hoop Choose a high-quality basketball hoop and pole system and install it securely at the regulation height of 10 feet (3.05 meters).
Step 9: Adding Finishing Touches Consider adding optional features like a fence around the court, lighting for nighttime play, or a seating area for spectators.
Congratulations! You’ve completed the ultimate DIY basketball court installation journey, from preparing the site to adding the final touches. Now you have a fantastic space to enjoy basketball games, practice your skills, and create cherished memories with friends and family. Remember to prioritize safety and maintenance, and your DIY basketball court will provide countless hours of fun and entertainment for years to come.

